Exposure is the single most important technical skill in photography. Get it right, and your photos look professional. Get it wrong, and even the most beautiful scene falls flat. Here’s everything you need to know about controlling light in your camera.
What Is Exposure?
Exposure is simply how much light reaches your camera sensor. Too much light, and your photo is overexposed (washed out, blown highlights). Too little, and it’s underexposed (dark, muddy shadows). The goal is balance — capturing detail in both the brightest and darkest parts of the scene.
The Exposure Triangle
Three settings work together to control exposure. Change one, and you’ll need to compensate with another. This is the exposure triangle:
- Aperture (f-stop): The size of the lens opening. Lower numbers (f/1.8) = wider opening = more light + shallow depth of field
- Shutter Speed: How long the sensor is exposed. Faster speeds (1/1000s) freeze motion; slower speeds (1/30s) blur it
- ISO: Sensor sensitivity. Lower ISO (100) = cleaner images; higher ISO (3200+) = brighter but noisier
A balanced exposure preserves detail in both highlights and shadows
Aperture: Controlling Depth of Field
Aperture does double duty — it controls light AND how much of your scene is in focus.
- f/1.4 – f/2.8: Portraits with creamy background blur; low-light shooting
- f/4 – f/5.6: General-purpose; great for street and event photography
- f/8 – f/11: Landscapes where you want everything sharp from foreground to horizon
- f/16 – f/22: Maximum depth of field; useful for sun-stars but watch for diffraction softness
Shutter Speed: Freezing or Blurring Motion
- 1/2000s and faster: Birds in flight, sports, splashing water
- 1/500s – 1/1000s: Walking people, moving cars
- 1/125s – 1/250s: Safe handheld speed for most subjects
- 1/60s and slower: Use a tripod — handheld shake becomes visible
- 1s – 30s+: Long exposures for silky waterfalls, light trails, and star trails
ISO: The Last Resort
Always start with the lowest ISO your scene allows. Modern cameras handle high ISO surprisingly well, but noise still degrades image quality.
- ISO 100 – 400: Bright daylight, tripod work — maximum quality
- ISO 800 – 1600: Indoors, overcast days — minor noise, still very usable
- ISO 3200 – 6400: Concerts, dim restaurants — visible noise but printable
- ISO 12800+: Emergency only — when missing the shot is worse than noise
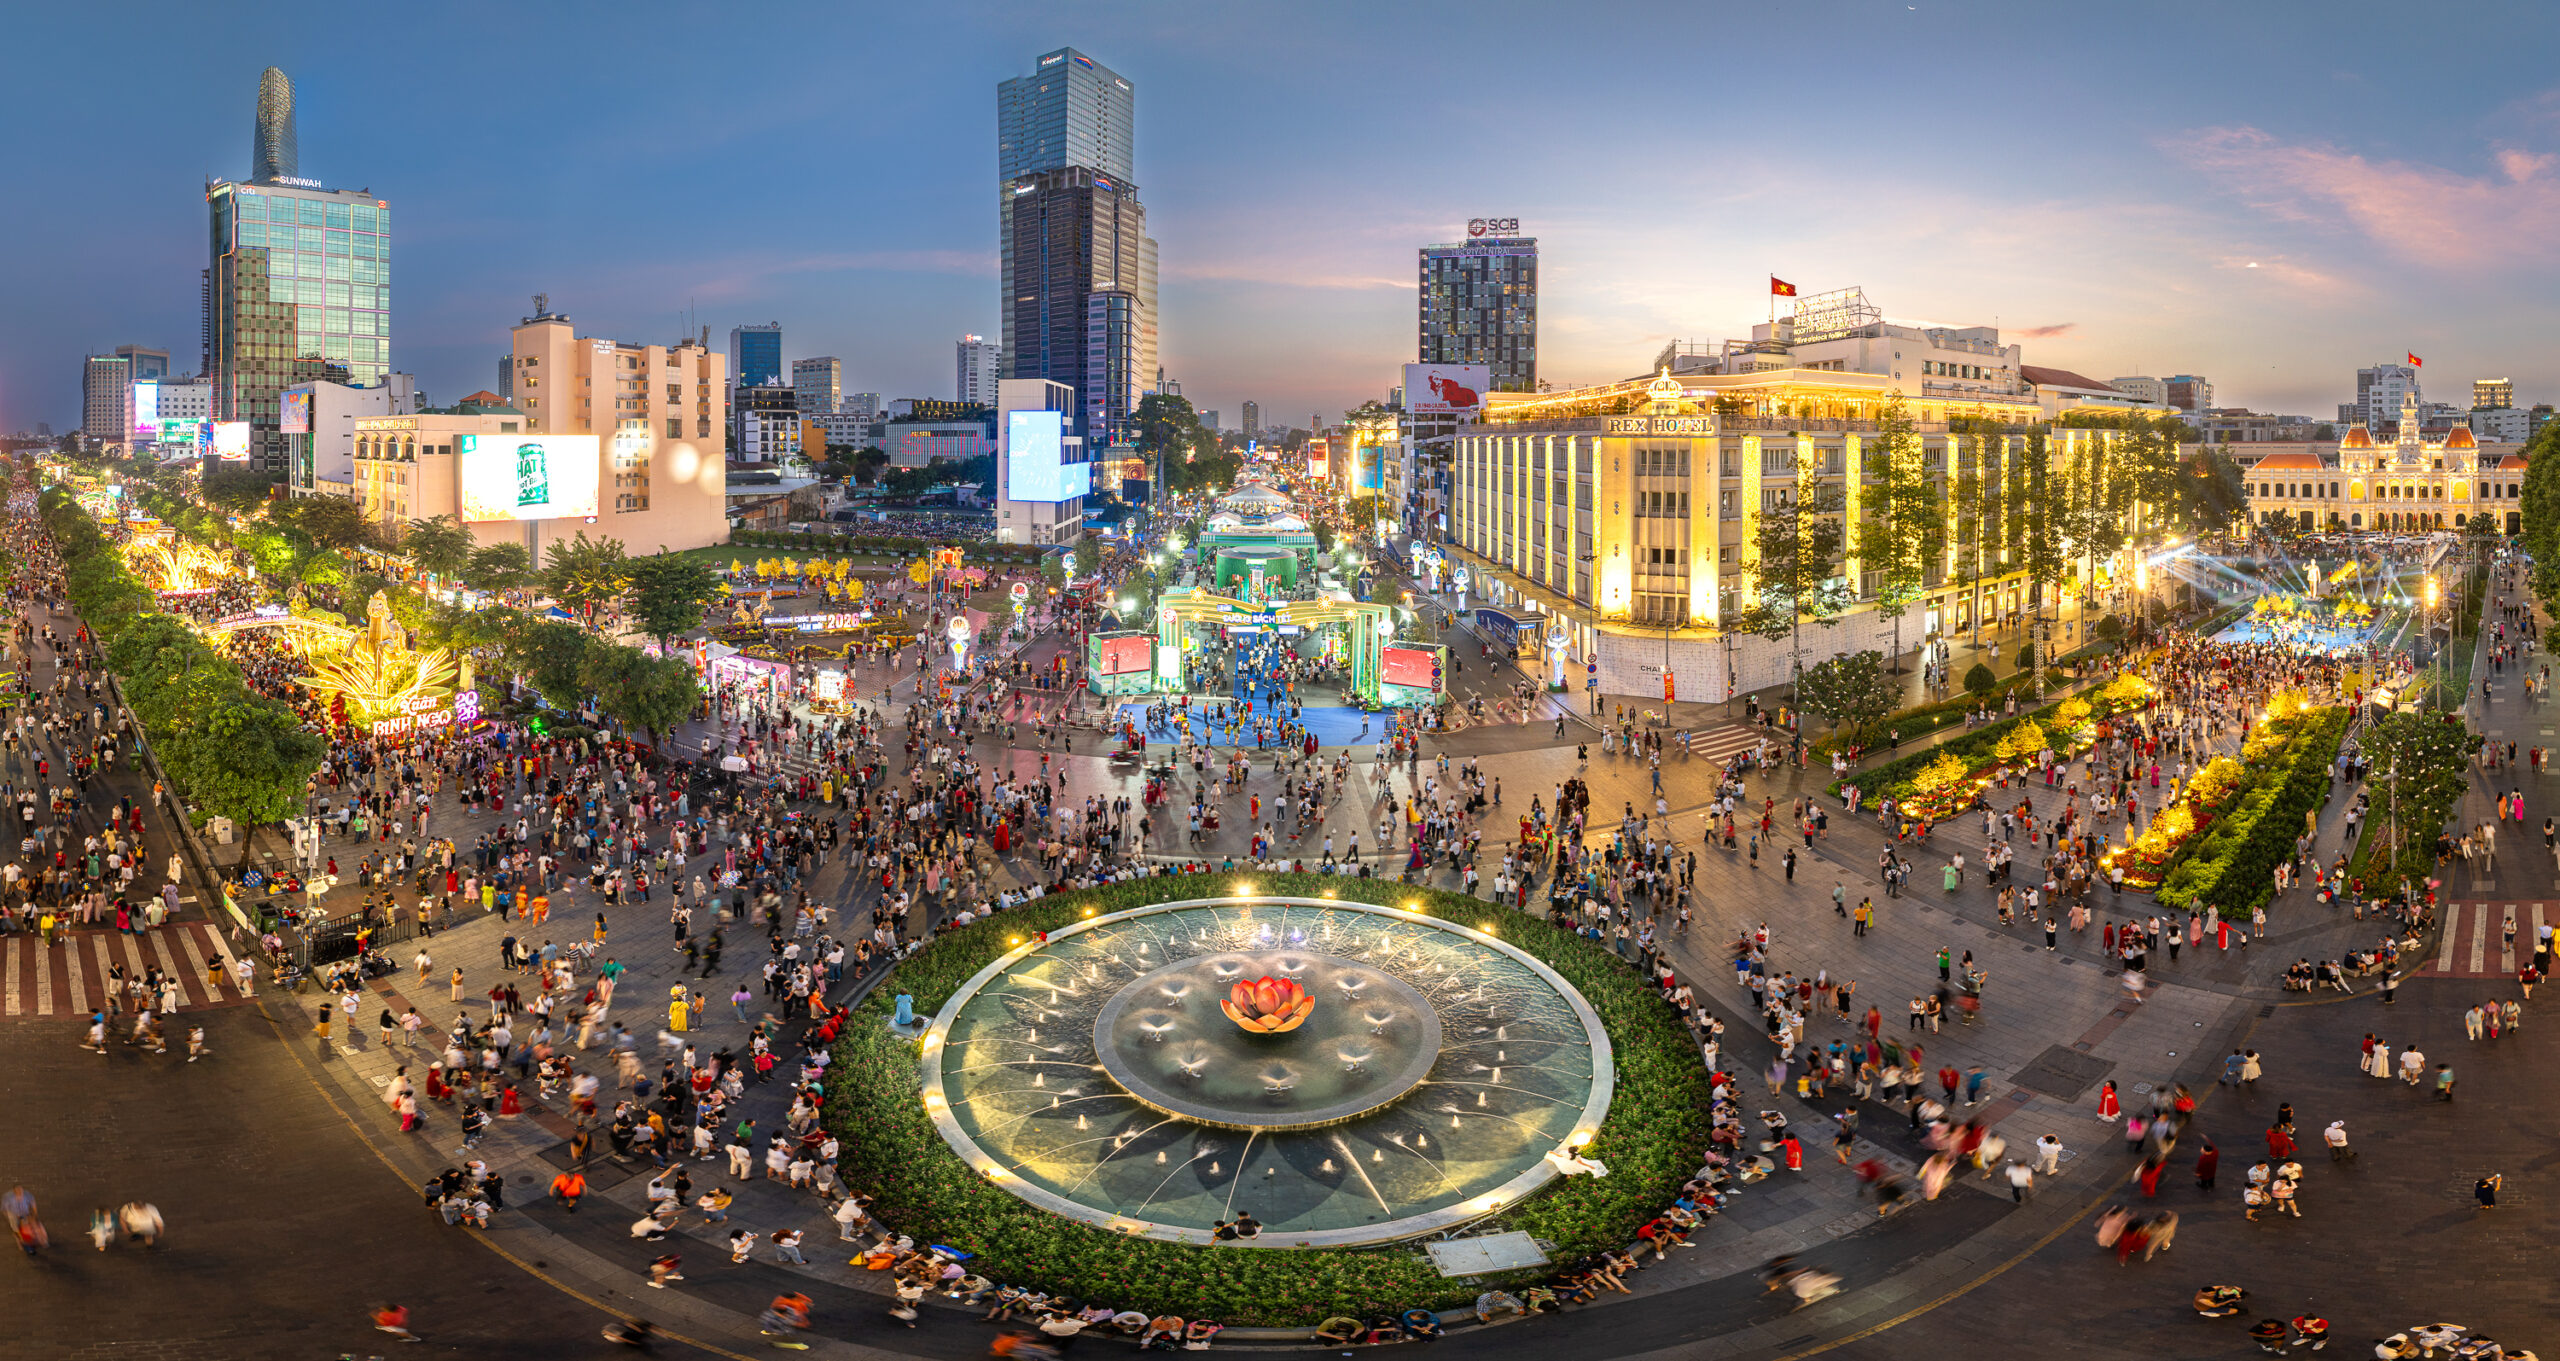
A slow shutter at twilight pulls out colors the eye can barely see
Reading Your Histogram
Forget the rear LCD — it lies. The histogram is the only honest measure of exposure. It’s a graph showing the brightness distribution of your photo:
- Bunched on the left: Underexposed — increase exposure
- Bunched on the right: Overexposed — clipped highlights you can’t recover
- Spread evenly across: Well-balanced exposure with full tonal range
- Touching either edge: You’re losing detail in shadows or highlights
Exposure Compensation: Your Quick-Fix Tool
In aperture-priority or shutter-priority mode, exposure compensation (the +/- button) lets you nudge the meter. Use it when:
- Shooting snow or beach scenes (dial in +1 to +2 — meters underexpose bright scenes)
- Shooting dark subjects against dark backgrounds (dial in -1 to -2)
- Backlit subjects where the meter gets confused
Common Exposure Mistakes
- Trusting the LCD preview instead of the histogram
- Cranking ISO before opening the aperture or slowing the shutter
- Blowing highlights — once they’re clipped, no editing software can recover them
- Forgetting to reset settings after a tripod shoot (waking up to ISO 100, 30-second handheld photos)
Practice Exercise
Pick one subject in your house. Shoot it ten times — same composition, different exposure settings each time. Vary aperture for the first three, shutter speed for the next three, and ISO for the last four. Compare them side by side. You’ll understand the triangle better in 20 minutes than reading any article (including this one).
Master your exposure, then share your best frames on Exchange Photo — turn your craft into income.